Anaconda
Anaconda is a package and environment management system for installing multiple versions of software packages and their dependencies, and for switching between them.
The conda command is available through various distributions such as Miniconda, Conda Forge, and Mamba, but these are all different:
- Anaconda3: A full distribution with many pre-installed packages.
- Miniconda3: A minimal installer for Conda, useful if you want to start with a clean slate and install only the packages you need.
- Conda Forge: A community-driven repository of Conda packages hosted on GitHub.
- Mamba: A faster, drop-in replacement for Conda, compatible with Conda environments.
New Anaconda3 Version
Starting 12/16/2024, the latest version of Anaconda3 has been installed on the WI-HPC Cluster and is now the default. This may cause issues with environments built using older versions. To avoid problems, we recommend rebuilding your environments using the newest version. You may also (not recommended) use the older version with:
module load Anaconda3/2022.05
Best Practices
- Only use the centrally installed version of Anaconda3—this is the only version supported by IT. See Initializing Conda.
- Never install packages into the base environment. Always create a new one. See Managing Environments.
- If you're unsure what to do, reach out to the IT Help Desk via the Wistar Help Center.
Using Anaconda
Anaconda3 is available via the module load Anaconda3 command. This is the centrally installed version of Conda available to all users and the only version supported by IT. Some users choose to install Conda or similar tools in their home directory or lab share—these are not supported by IT.
Conda Commands Quick Reference
| Command | Description |
|---|---|
conda init |
Initializes Conda and adds it to your shell (~/.bashrc) |
conda --help |
Shows help info and available Conda commands |
conda create --name my_env python=3.8 |
Creates a new environment named my_env with Python 3.8 |
conda create --prefix /path/to/env |
Creates an environment at a specific path |
conda activate my_env |
Activates the my_env environment |
conda install package_name |
Installs a package into the active environment |
conda deactivate |
Deactivates the current environment |
conda envs list or conda info --envs |
Lists all available Conda environments |
conda list |
Lists installed packages in the current environment |
conda env export |
Exports environment configuration to environment.yml |
conda remove --name my_env |
Removes the specified environment |
conda token set <token> |
Sets your Anaconda license token |
which python |
Shows the Python binary path (to confirm environment activation) |
Initializing Conda
To start using Conda, first load the module:
module load Anaconda3
Then initialize Conda. This will modify your ~/.bashrc so the conda command is available:
conda init
Verify that Conda is available:
conda --help
Log out and back in to ensure everything works correctly. By default, the (base) Conda environment will be activated. Do not install packages into the (base) environment—instead, create your own environment.
Creating Environments
To create a new environment, use the conda create command followed by the environment name and any packages you want:
conda create --name my_env python=3.8
To create an environment in a specific location (e.g., shared directory):
conda create --prefix /path/to/env
Managing Environments
To start using an environment:
conda activate my_env
You can verify that the environment is active using:
which python
This should output something like:
~/.conda/envs/my_env/bin/python
Using conda in scripts
To use conda commands inside an sbatch script, you must add source ~/.bashrc near the top of your script. Without this, the conda command will not be found.
To install additional packages into your environment (after activating it):
conda install package_name
To deactivate your current environment:
conda deactivate
To list your environments:
conda envs list
To list all packages in the active environment:
conda list
To export the environment’s package list for reproducibility:
conda env export
This will create an environment.yml file you can share with others to re-create your environment.
To remove an environment:
conda remove --name my_env --all
Tip: Always include --all when removing an environment to delete all files associated with it.
Transition to Different Conda Installation
First, make sure that you take note of all the environments that you use on a regular basis and export them if you wish
conda info --envs
conda activate my_env
conda env export > my_env.yml
Next, open you ~/.bashrc file with you preferred text editor (vi or nano) and remove the following lines (yours may look different)
# >>> conda initialize >>>
# !! Contents within this block are managed by 'conda init' !!
__conda_setup="$('/applications/Anaconda3/2024.10/bin/conda' 'shell.bash' 'hook' 2> /dev/null)"
if [ $? -eq 0 ]; then
    eval "$__conda_setup"
else
    if [ -f "/applications/Anaconda3/2024.10/etc/profile.d/conda.sh" ]; then
        . "/applications/Anaconda3/2024.10/etc/profile.d/conda.sh"
    else
        export PATH="/applications/Anaconda3/2024.10/bin:$PATH"
    fi
fi
unset __conda_setup
# <<< conda initialize <<<
Log out of wi-hpc and then log back in
Once logged back in, use the module load command to load the version of conda you wish to use
module keyword conda # use this to check for available versions

# Choose one of the following versions
module load Anaconda3 # full distribution, LICENSE REQUIRED
module load miniforge3 # lite distribution
Initialize your environment to use conda. This will add the lines back to your ~/.bashrc that you deleted earlier.
conda init
Finally, log out and back in and now conda will be available to you.
License Information
As of 2025, The Wistar Institute requires a license for all users utilizing Conda on the WI-HPC Cluster. If you want to use a version of Conda installed in your home directory or lab share, your lab will need to pay for the license independently.
- Reach out to the IT Help Desk at the Wistar Help Center requesting an Anaconda License.
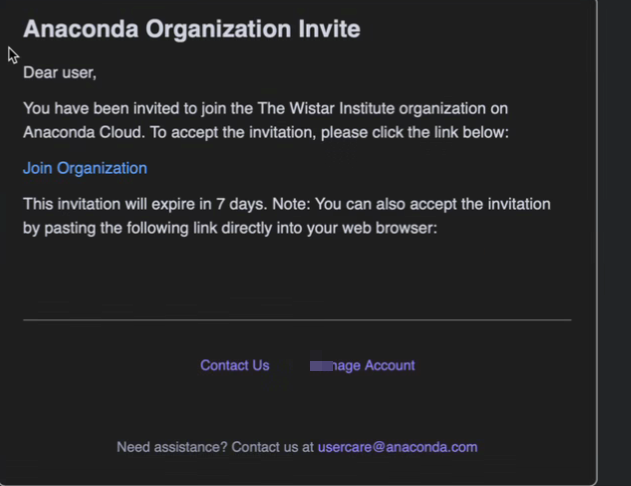
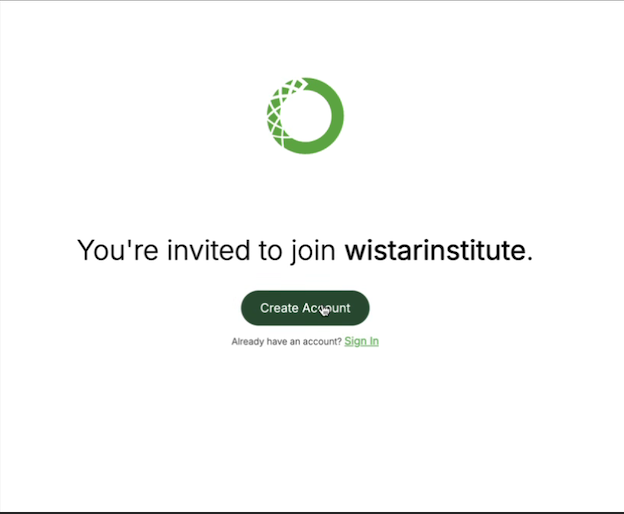
- Once IT has onboarded your account, you'll receive a invite email asking you to join the wistar organization.
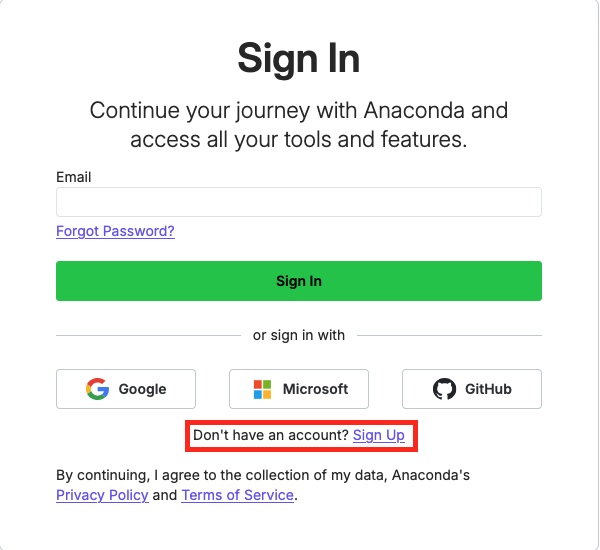
- Click create account if you do not already have one. Use your @wistar.org email address
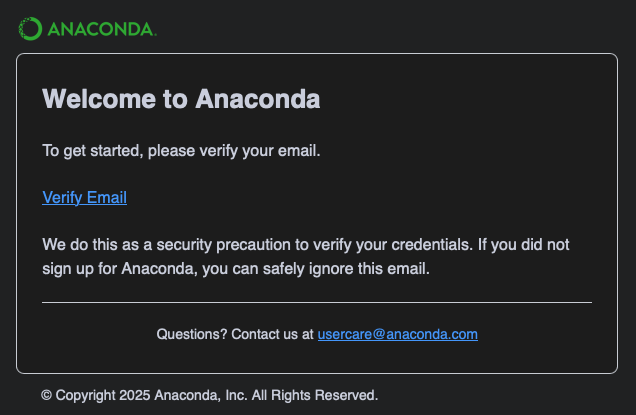
- You will be sent an email asking you to verify you email address.
- Once you have verified your email address, let IT know you accepted the invite.
- Once IT assigns you a seat, log back into Anaconda.com and select "Token Access" on the left-hand side. Select "Activate Token".
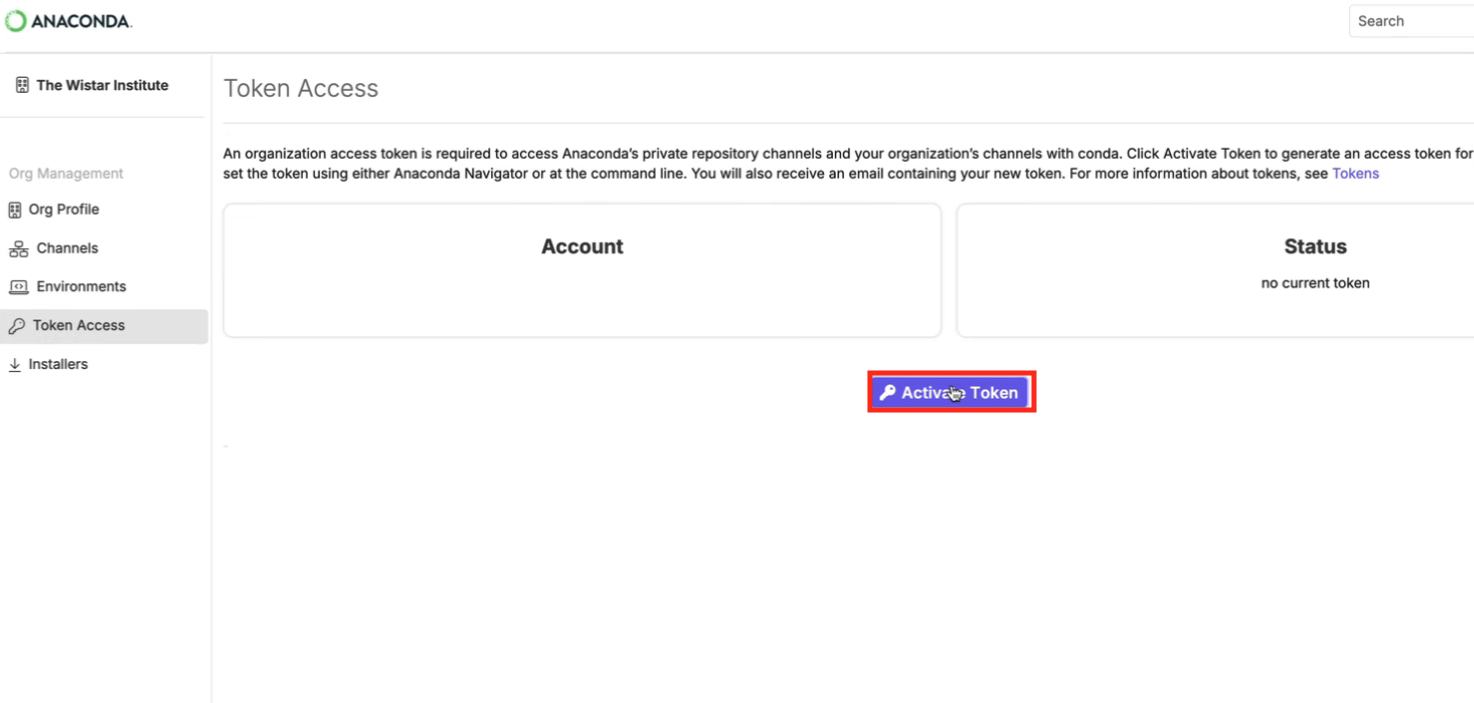
- Copy the token presented in the pop-up window.
- Login to the WI-HPC Cluster and confirm you're using the centrally installed Anaconda3. If a different path is shown, switch to the supported version. See Initializing Conda for how to change versions.

- Finally, set your token:
conda token set <paste token here>
If you have any questions or concerns, please reach out to the IT Help Desk via the Wistar Help Center.